R Notebook
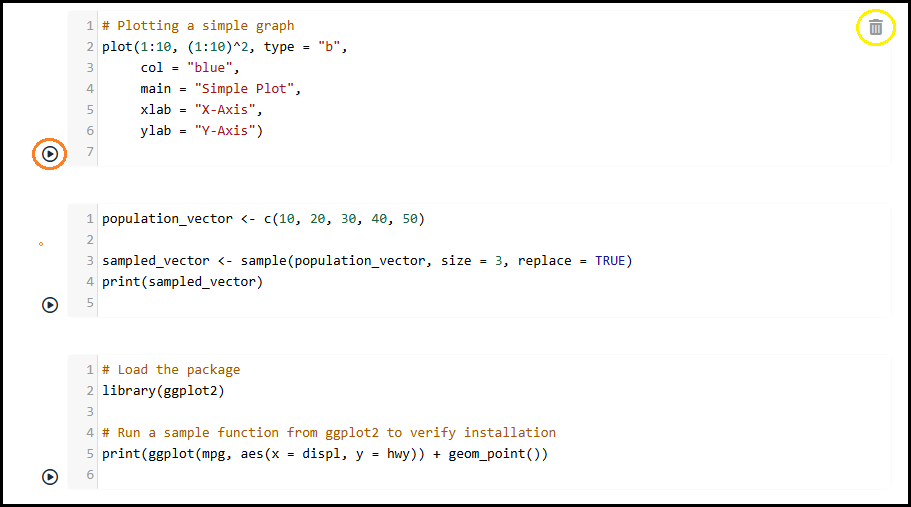
Users can write R code in an intuitive, clean editor interface provided by each cell in the notebook. To execute the code, they have multiple options: pressing Ctrl + Enter runs the code in the current cell without changing focus, making it ideal for testing and quick edits. Pressing Shift + Enter not only runs the code but also navigates to the next cell. If no cell exists below the current one, a new cell is automatically created and focused, allowing for smooth, uninterrupted coding — much like traditional computational notebooks. Additionally, each cell features an execute icon (highlighted in red) at the bottom-left corner, which users can click to run the code manually. Upon execution, the output is displayed directly beneath the code cell, enabling immediate feedback and streamlined development.
Each code cell also includes a delete icon (highlighted in yellow), which allows users to remove the cell entirely from the notebook interface. This makes it easy to manage and customize the notebook layout.
Load Packages
To use external libraries in R, such as ggplot2 for data visualization, users must first load the package using the library() function. If the package is not already installed, it can be installed using install.packages("ggplot2").
Here is how to load the package and test it with a simple example:
# Load the package
library(ggplot2)

# Run a sample function from ggplot2 to verify installation
print(ggplot(mpg, aes(x = displ, y = hwy)) + geom_point())
In addition to using ggplot2, R supports basic plotting using base functions. Below is a simple example:
# Sample code to plot a graph
plot(1:10, (1:10)^2, type = "b",
     col = "blue",
     main = "Simple Plot",
     xlab = "X-Axis",
     ylab = "Y-Axis")
Notebook Management
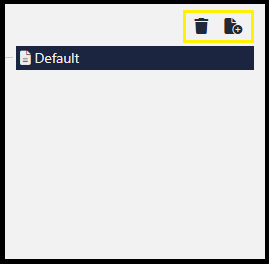
Users can manage multiple R notebooks through a simple and intuitive panel.
They can create new notebooks by clicking the add notebook icon (highlighted in yellow), allowing them to work on different projects or examples. To delete a selected notebook, users can click the delete icon (also highlighted in yellow), helping keep the workspace clean and organized.
The notebook list on the left enables quick switching between different notebooks with a single click.
Header Controls

Users can click the menu icon (highlighted in red) to toggle the left sidebar. This helps them hide or show the list of available notebooks and better manage workspace space.
Adding a New Cell

Users can add a new cell to the cell container by clicking the Add Cell button, located at the bottom-right corner of the cell container section.